
Thanks for your comment, here three steps with products links for achieving stong, long lasting, and sellable metal clay jewelry. If you’re interested in working with metal clay, be sure to give me a follow so you don’t miss any of my tips, techniques, and studio insights! If you have any questions about metal clay, let me know - I’d be happy to make a video to help!
ADD THESE 3 STEPS TO YOUR METAL CLAY PROCESS
Before firing, inspect your piece carefully from every angle. Look for any cracks, weak seams, thin spots, or areas that may have shifted while drying. Pay close attention to joins, edges, and delicate details—these are often the first places to fail in the kiln. Gently test attached pieces to make sure everything feels secure. If you notice any damage, repair it before firing to help prevent breakage.
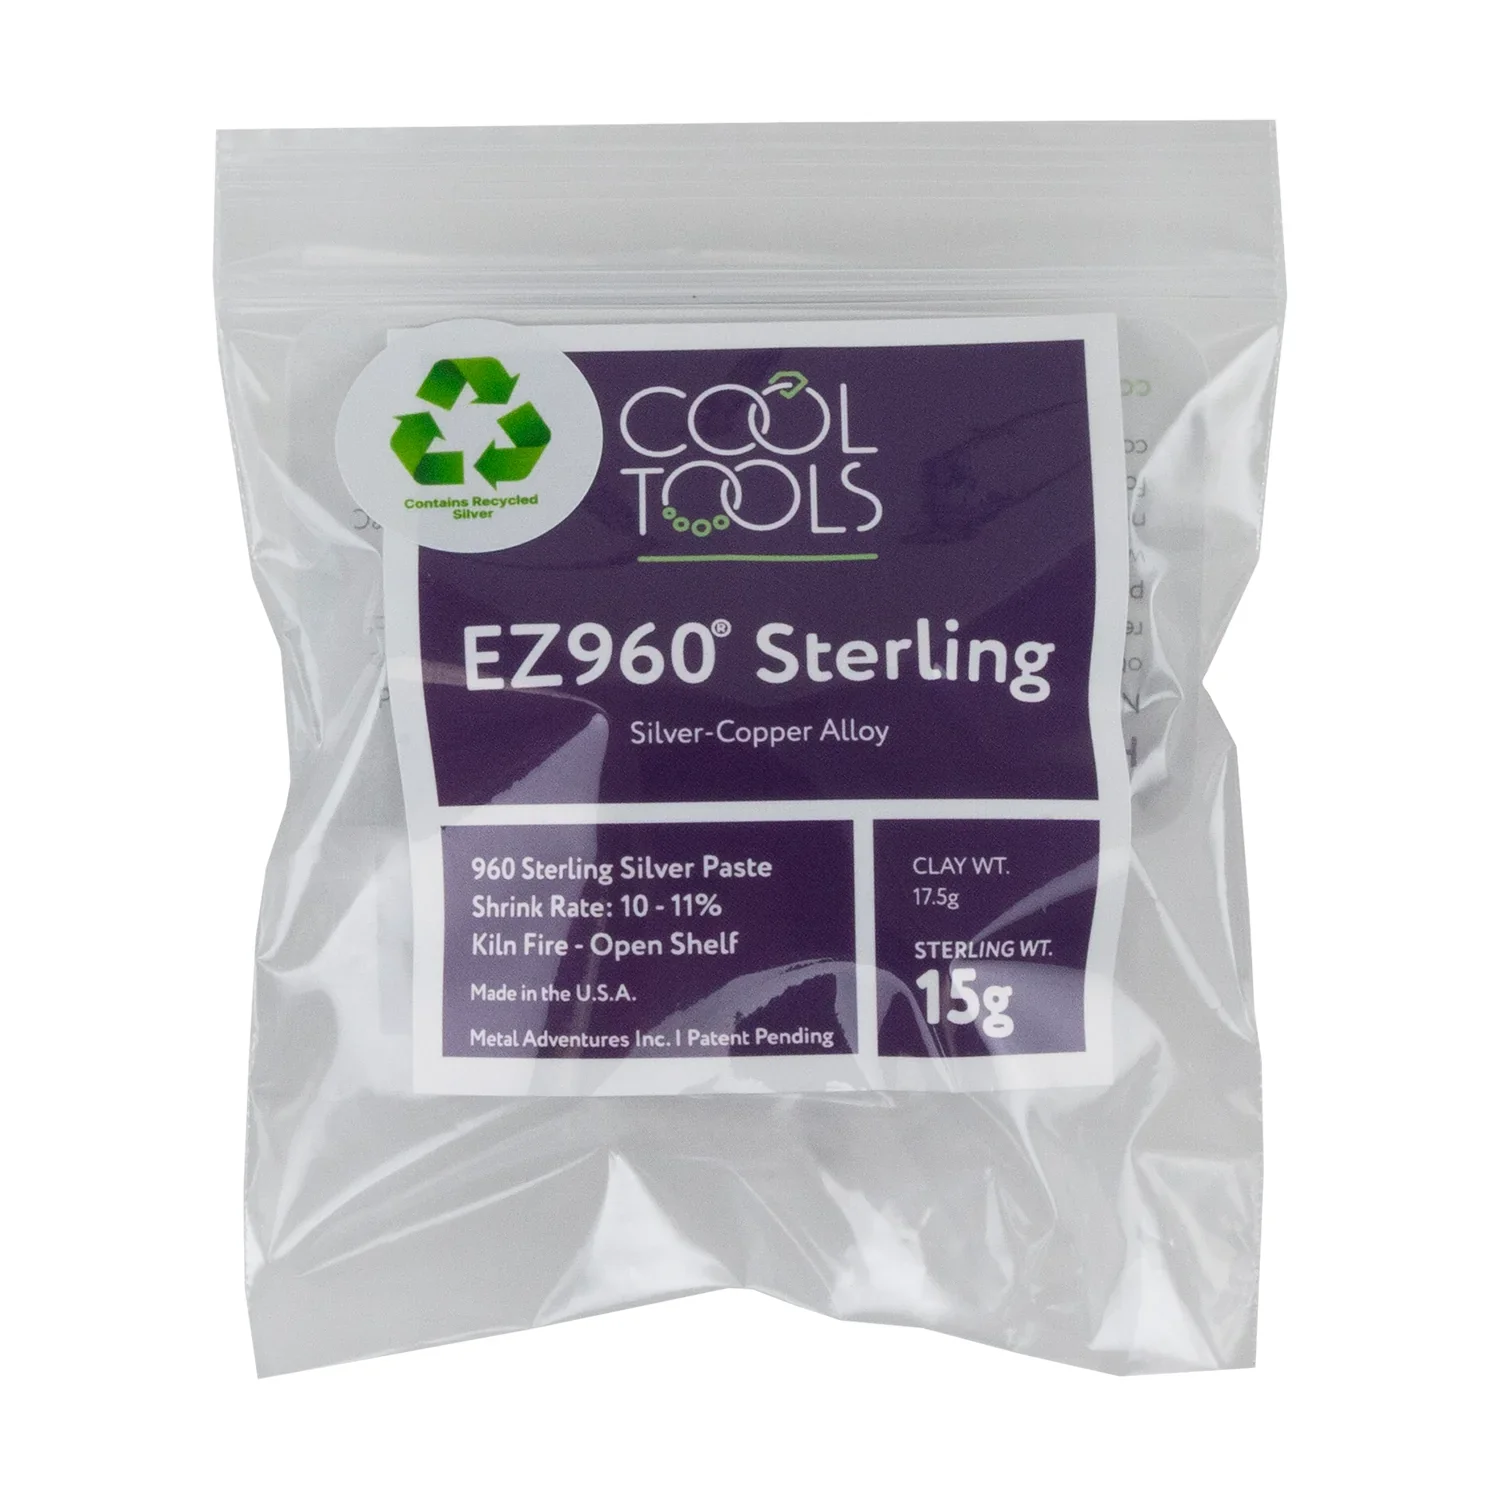
Clay paste (store-bought or homemade) is great for filling small cracks, dents, surface blemishes, or other minor imperfections. Apply a small amount where needed, let it dry fully, then refine if necessary.
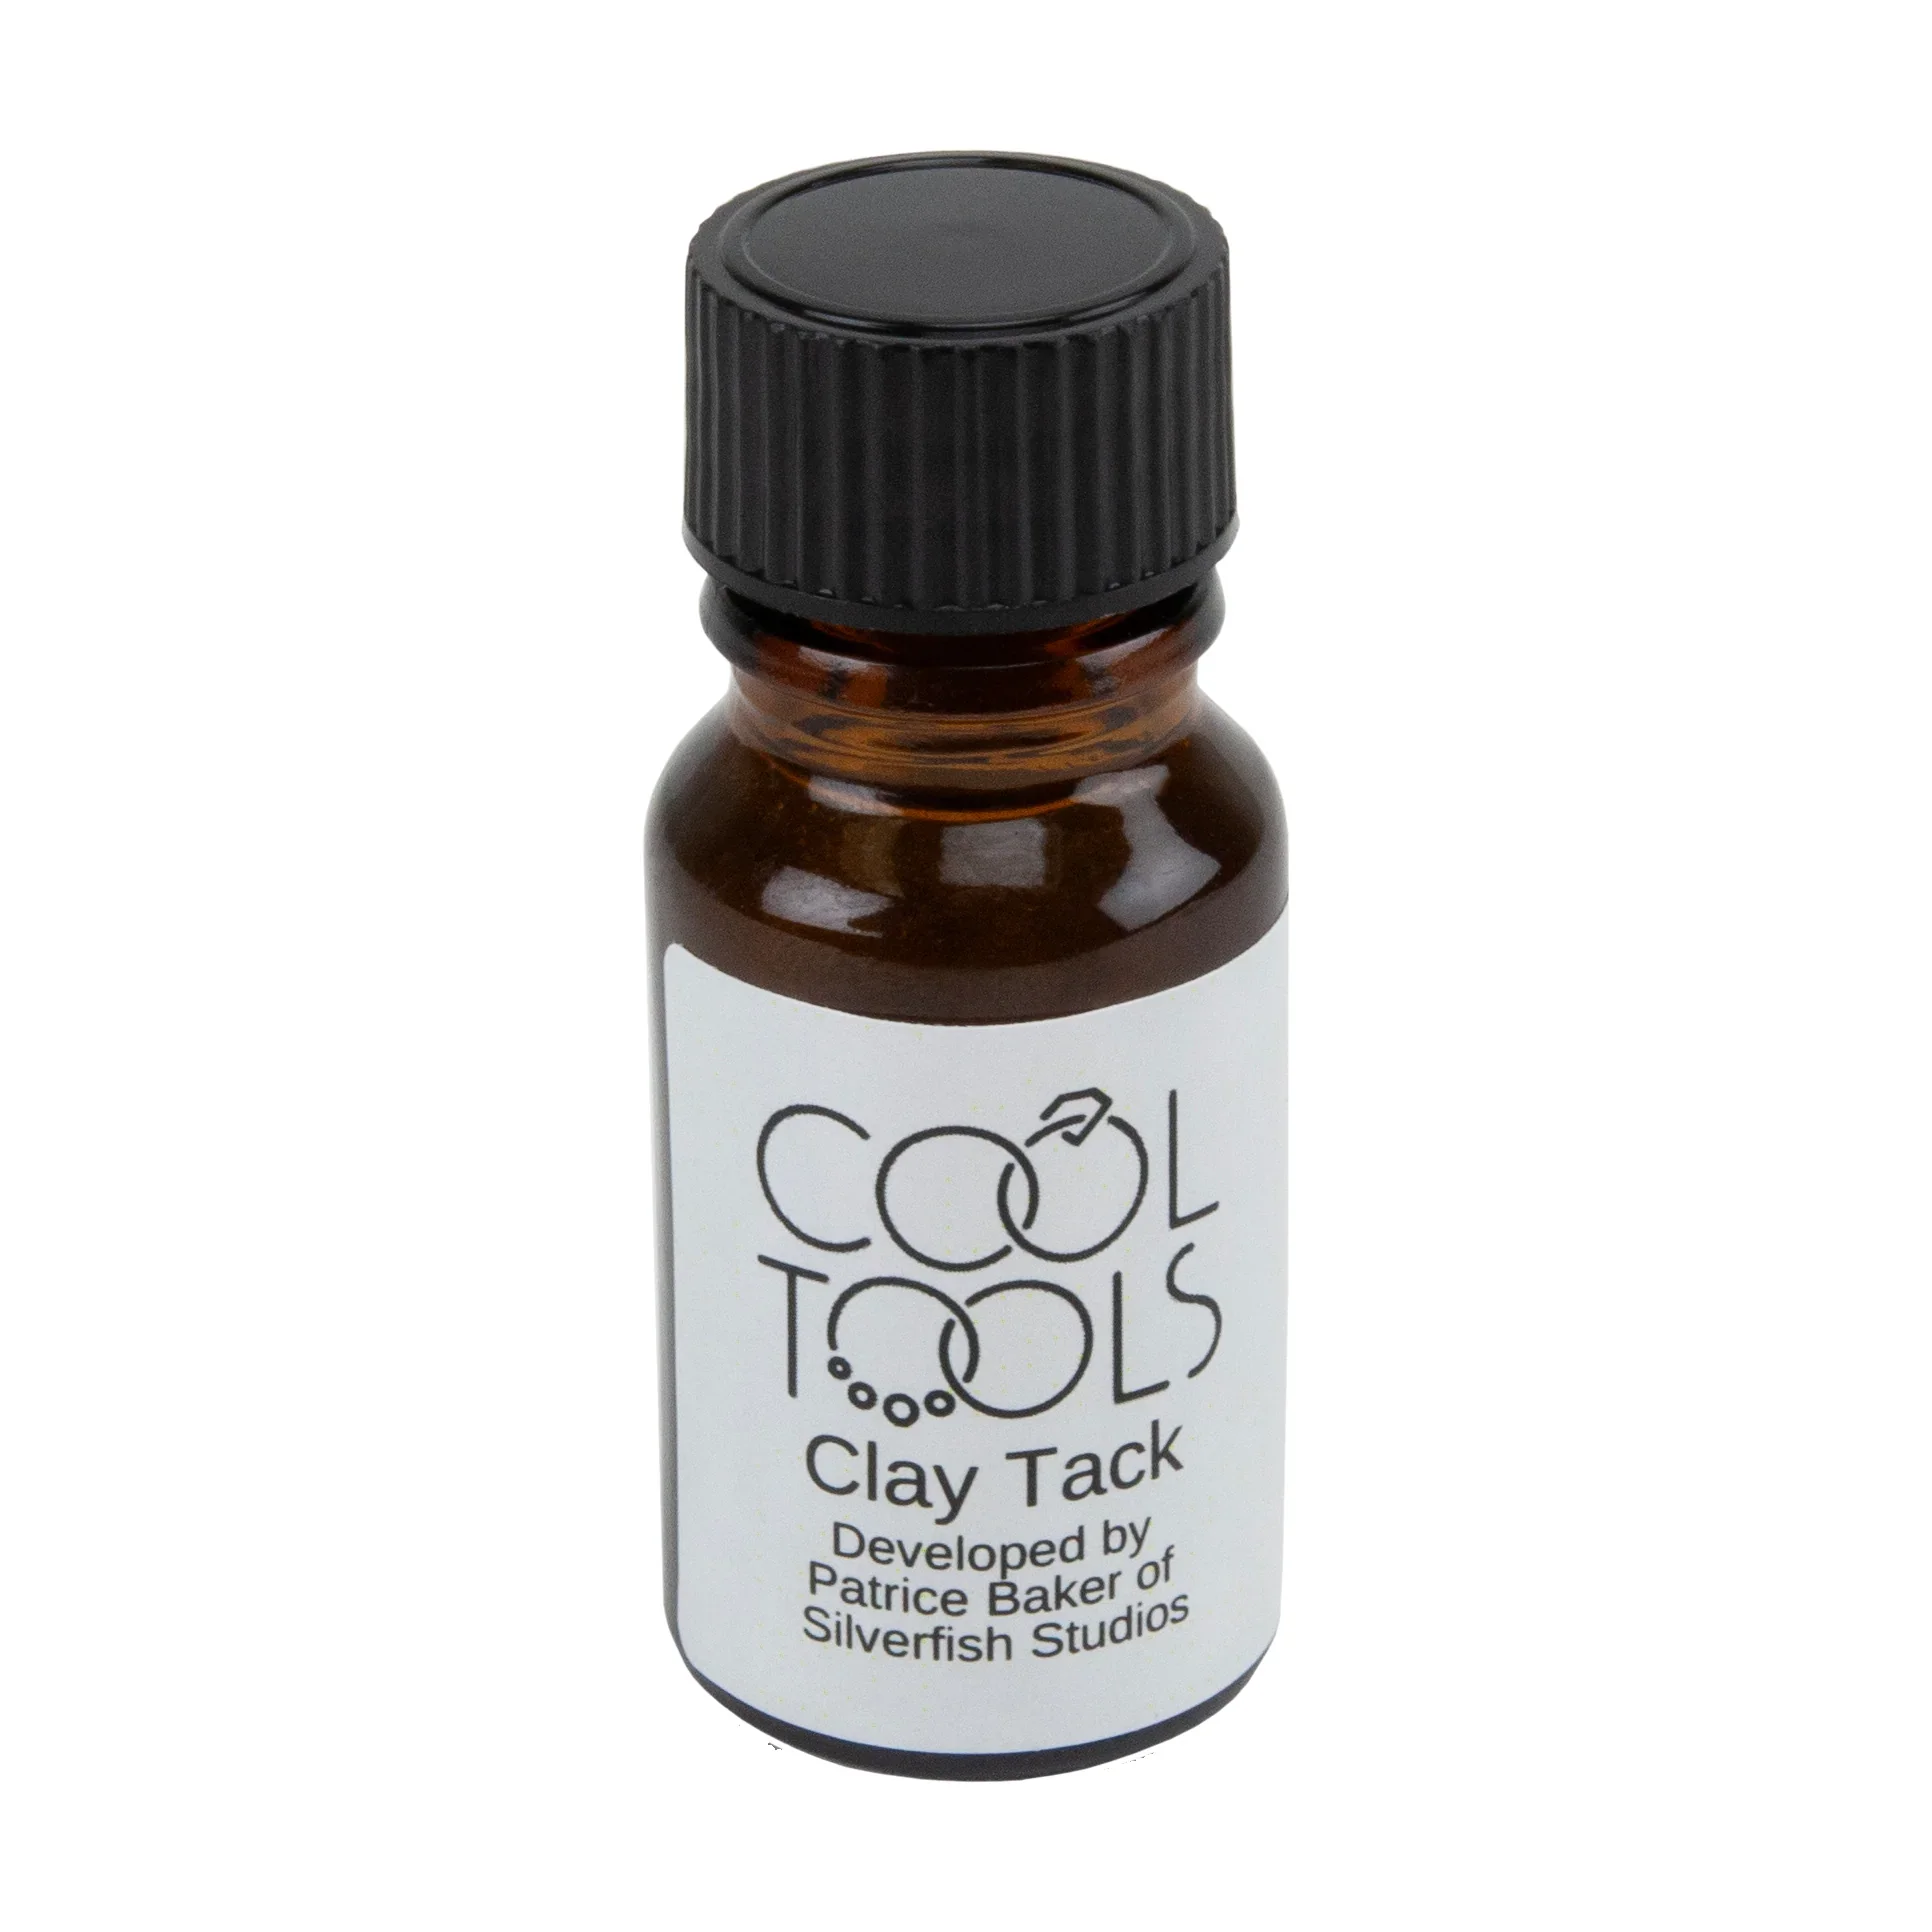
ClayTack is especially useful for reinforcing weak spots or building up areas that feel too thin on a dried piece. You can use it to add extra clay to seams, joins, or fragile details. Sometimes I’ll even brush a thin layer over vulnerable areas just for extra peace of mind before firing.
#1 Check for Structural Integrity
Clay Paste
Clay Tack
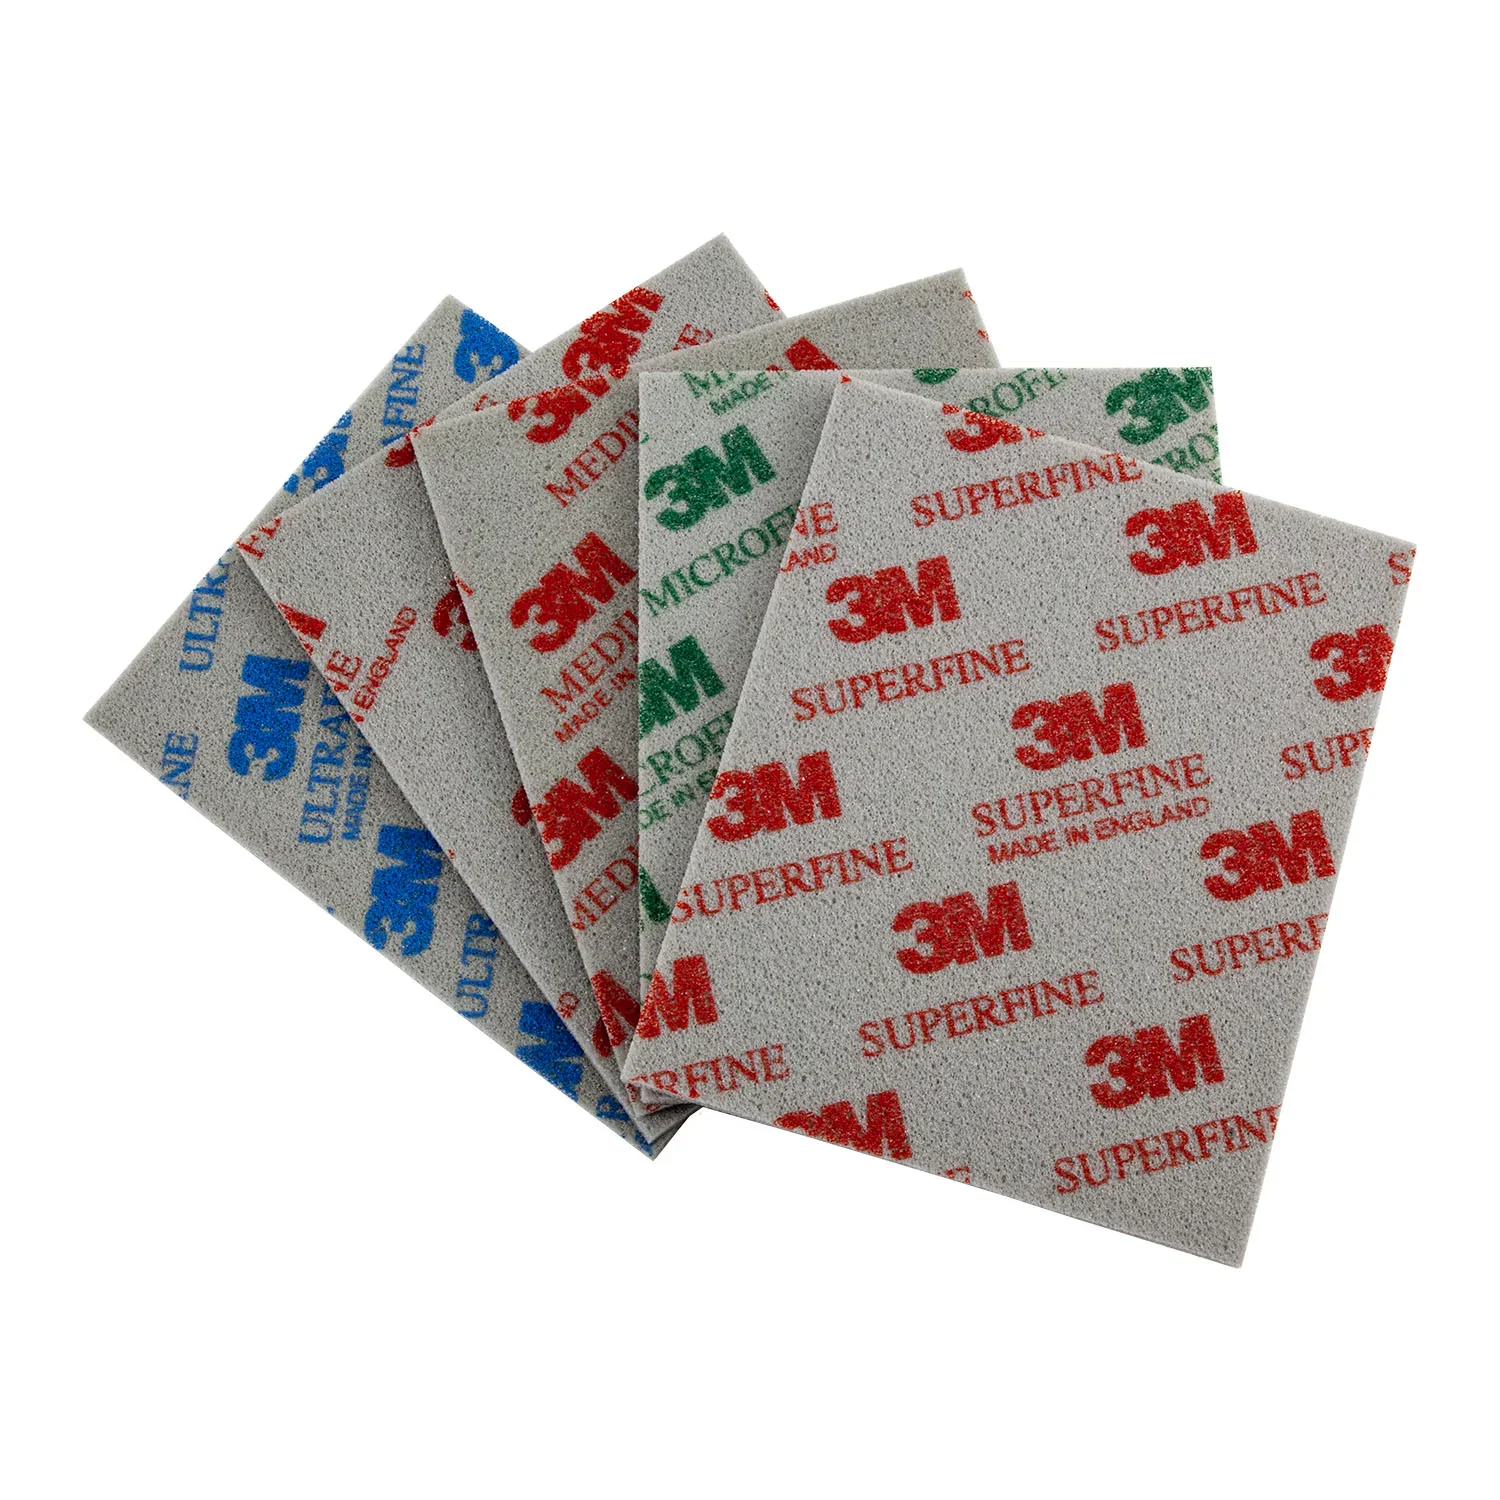
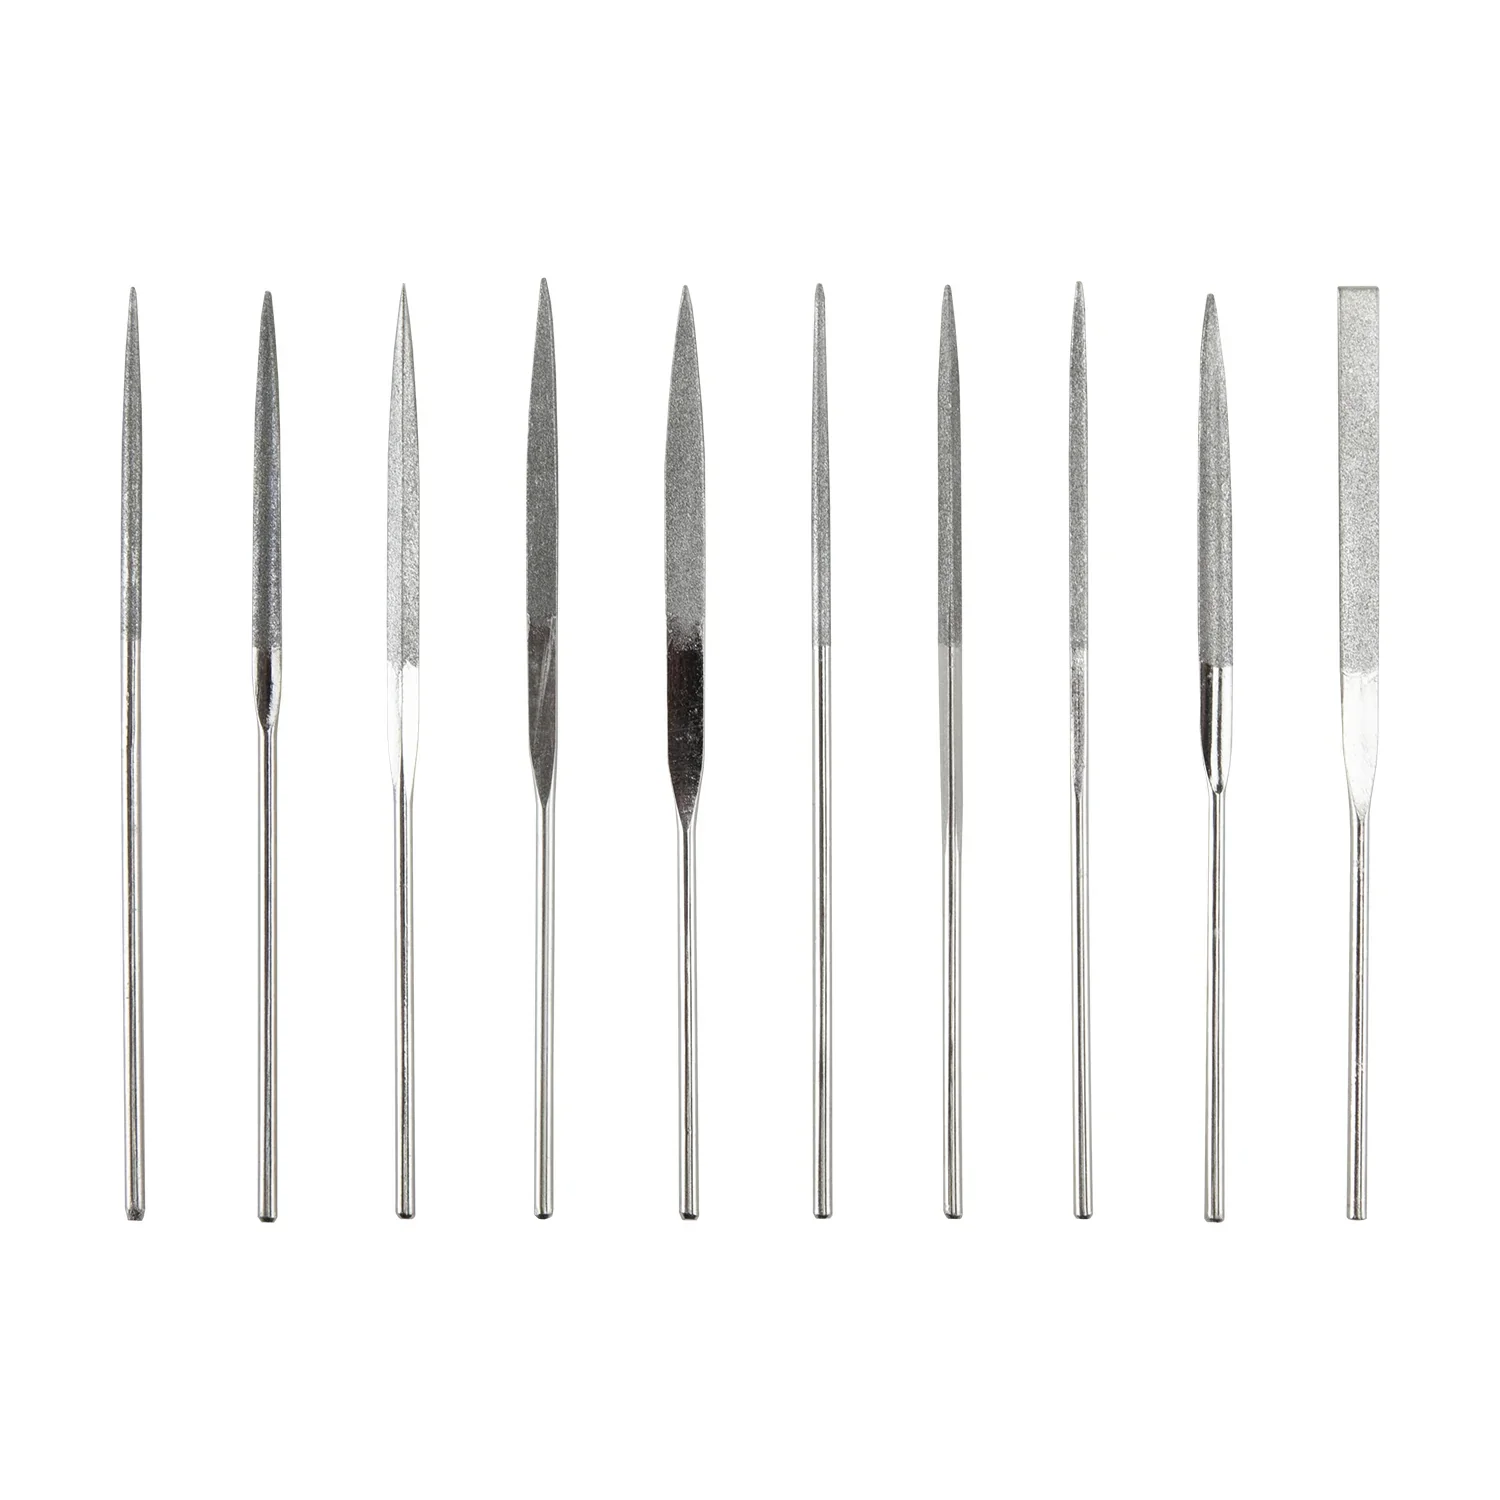
Once your piece is fully dry, refine the surface and smooth any rough edges before firing. Use sanding blocks, sandpaper, needle files, or polishing pads to clean up edges, remove bumps, and sharpen or soften details depending on the finish you want.
Work through your grits gradually, moving from coarser (lower numbers) to finer (higher numbers). I like to finish with the highest grit possible using a sanding block before firing. The more refining you do at the dry clay stage, the less cleanup, sanding, and polishing you’ll need after firing. Taking extra time here can make a big difference in your final finish and help achieve a smoother, more polished result with less effort later.
#2 Refine and Smooth Edges
Sanding Blocks
Files
Make sure your piece is completely dry before placing it in the kiln. Any remaining moisture trapped inside the clay can turn to steam during firing, which may cause cracking, warping, or even breakage.
Drying time will vary depending on the thickness of your piece, but when in doubt, give it more time. Pay extra attention to thicker areas, joins, layered sections, and enclosed forms, since these tend to hold moisture longer.
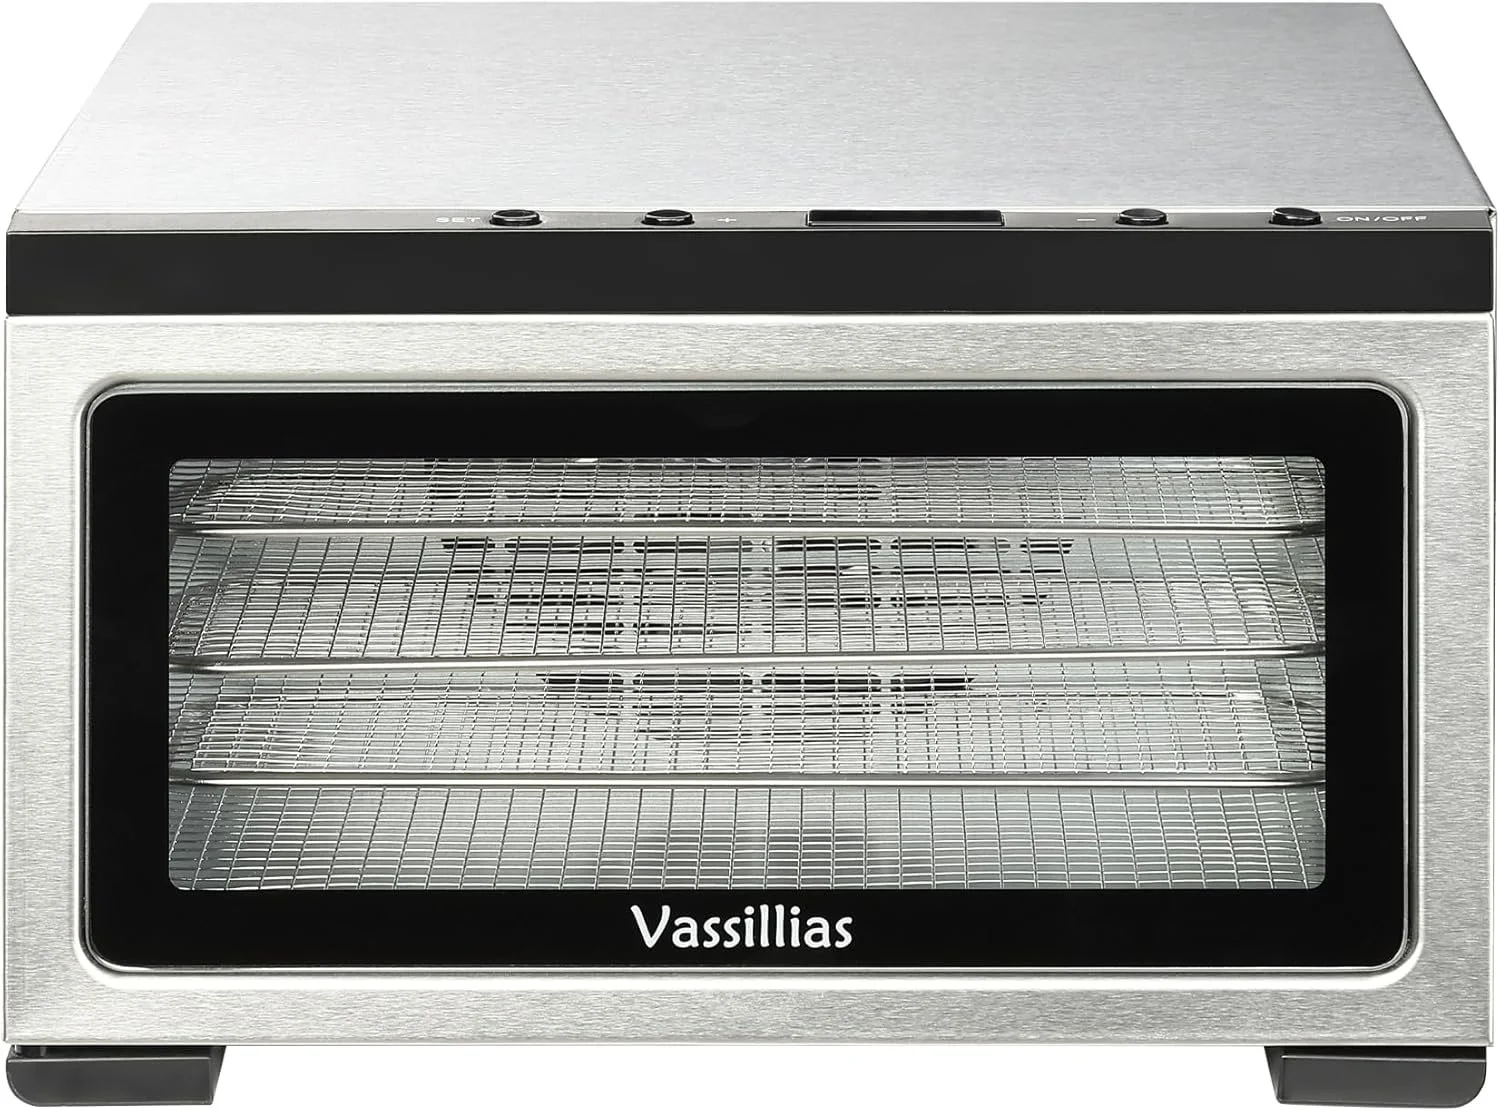
I like to use a dehydrator to speed up the drying process and help ensure the piece is evenly dry all the way through before firing. It’s a simple step, but it can make a big difference in preventing cracks and firing issues.
#3 Dry out Clay Piece
Dehydrator
CONTACT
Instagram: @madelineelizabethjewelry
Tik tok: @madelizjewelry
Email: madelineelizabethjewelry@gmail.com
